
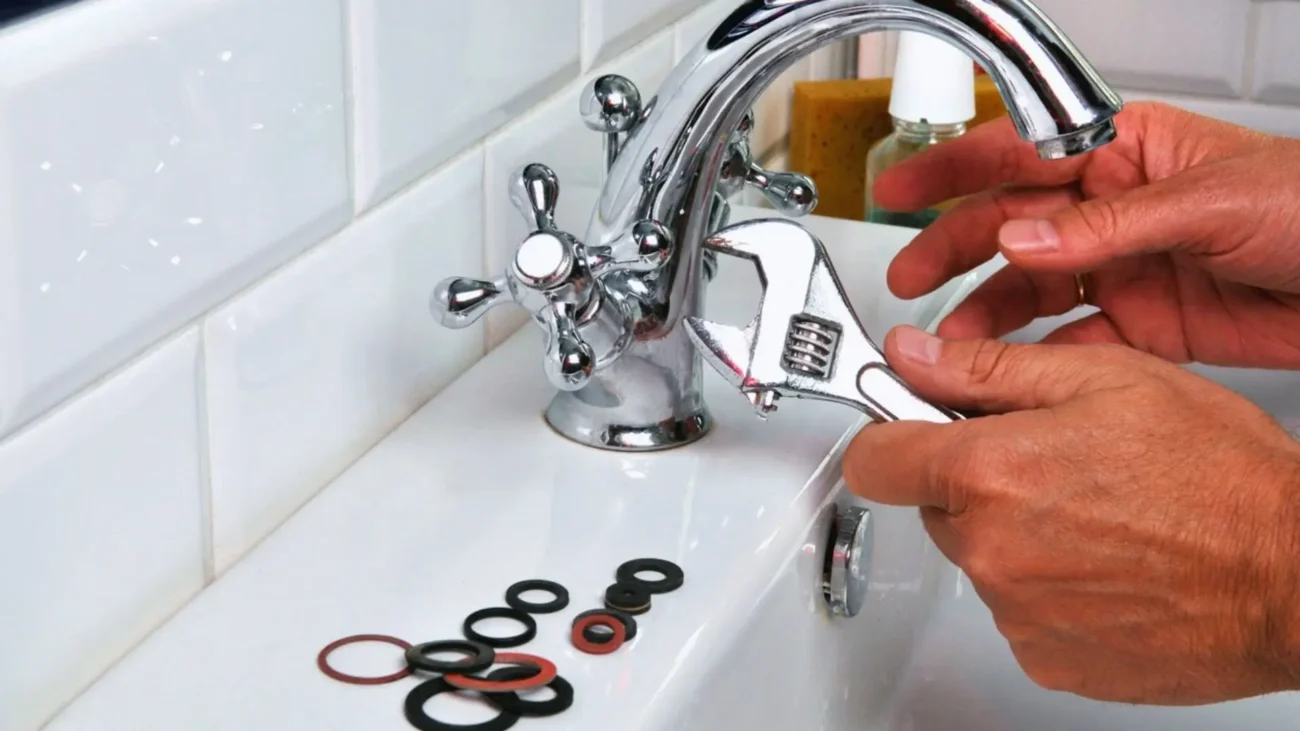
Faucet leaks are a common household issue that can lead to increased water bills and potential water damage if left unattended. The constant drip-drip-drip of a leaking faucet is not only annoying but also wasteful. Fortunately, many faucet leaks can be fixed with some basic tools and a little bit of know-how. In this article, we’ll explore expert tips and quick DIY fixes to help you repair your leaking faucet efficiently and effectively.
Understanding the Anatomy of a Faucet
Before diving into repairs, it’s important to understand the basic components of a faucet. Most faucets consist of a handle, spout, aerator, and internal mechanisms like washers, O-rings, and valves. Faucets generally fall into four categories: compression, ball, cartridge, and ceramic disk. Each type has a different mechanism that controls water flow, and understanding which type you have will guide your repair approach.
Compression Faucets
These are traditional faucets with separate hot and cold handles. They work by compressing a rubber washer to stop water flow. Over time, these washers can wear out, leading to leaks.
Ball Faucets
Commonly found in kitchens, ball faucets have a single handle that controls a plastic or metal ball inside the faucet body. This ball regulates water temperature and flow. Ball faucets contain several small parts, which can make them prone to leaks.
Cartridge Faucets
These faucets can have one or two handles and use a movable cartridge to control water flow. Cartridge faucets are known for their reliability and can be repaired by replacing the cartridge.
Ceramic Disk Faucets
Ceramic disk faucets have a single lever that operates with two ceramic disks. These are durable and less prone to leaks but can be more complex to repair when they do leak.
Common Causes of Faucet Leaks
Several factors can contribute to a leaking faucet. Identifying the cause is the first step in fixing the problem.
Worn Out Washers
In compression faucets, the constant friction between the washer and valve seat can wear down the washer, causing leaks.
Damaged O-Rings
O-rings are small rubber rings that create a seal in the valve stem. Over time, they can become brittle and cracked, leading to leaks around the base of the faucet.
Corroded Valve Seats
In compression faucets, the valve seat connects the faucet to the spout. Corrosion can occur due to water sediments, leading to leaks at the spout.
Loose or Damaged Parts
Over time, parts of the faucet may become loose or damaged due to regular use. This can cause leaks around the handle or spout.
Tools and Materials Needed for Faucet Repair
Before you begin any repair, gather the necessary tools and materials. Having the right tools will make the job easier and more efficient.
– Adjustable wrench
– Screwdriver set
– Pliers
– Plumber’s grease
– Replacement parts (washers, O-rings, cartridges)
– Towels or cloths
– White vinegar (for cleaning)
Step-by-Step Guide to Fixing a Leaking Faucet
Step 1: Turn Off the Water Supply
Before starting any repair, turn off the water supply to the faucet. Locate the shut-off valves under the sink and turn them clockwise to close. If there are no shut-off valves, turn off the main water supply.
Step 2: Plug the Sink Drain
Use a stopper or cloth to plug the sink drain. This prevents small parts from falling down the drain during disassembly.
Step 3: Remove the Faucet Handle
Use a screwdriver to remove the handle screw, then gently pull the handle off. Some handles may have a decorative cap that needs to be pried off first.
Step 4: Inspect and Replace Washers and O-Rings
Once the handle is removed, use an adjustable wrench to unscrew the packing nut. Remove the stem or cartridge and inspect the washers and O-rings for wear or damage. Replace any worn-out parts with new ones.
Step 5: Clean the Valve Seat
If you have a compression faucet, inspect the valve seat for corrosion. Use a wire brush to clean it, or replace it if necessary.
Step 6: Reassemble the Faucet
After replacing the necessary parts, reassemble the faucet by reversing the disassembly steps. Apply plumber’s grease to new washers and O-rings to ensure a good seal.
Step 7: Turn the Water Supply Back On
Once everything is reassembled, slowly turn the water supply back on and test the faucet for leaks. Tighten any connections as needed.
Preventative Maintenance Tips
To prevent future leaks, consider these maintenance tips:
– Regularly inspect and replace worn-out washers and O-rings.
– Clean the aerator periodically to prevent sediment build-up.
– Avoid excessive force when turning the faucet on or off to reduce wear on internal components.
When to Call a Professional
While many faucet leaks can be fixed with DIY methods, some situations may require professional help:
– Persistent leaks despite replacing parts
– Complicated faucet designs that are difficult to disassemble
– Leaks associated with plumbing issues beyond the faucet
In such cases, calling a professional plumber ensures that the issue is resolved correctly and prevents further damage.
Conclusion
Faucet leaks can be a nuisance, but with a little patience and the right tools, you can fix many common issues yourself. By understanding the type of faucet you have and the common causes of leaks, you can address the problem effectively. Remember to perform regular maintenance to keep your faucets in good working condition. However, don’t hesitate to seek professional help if the problem persists or seems too complex to handle on your own. With these expert tips and quick DIY fixes, you’ll be well on your way to a leak-free home.
