
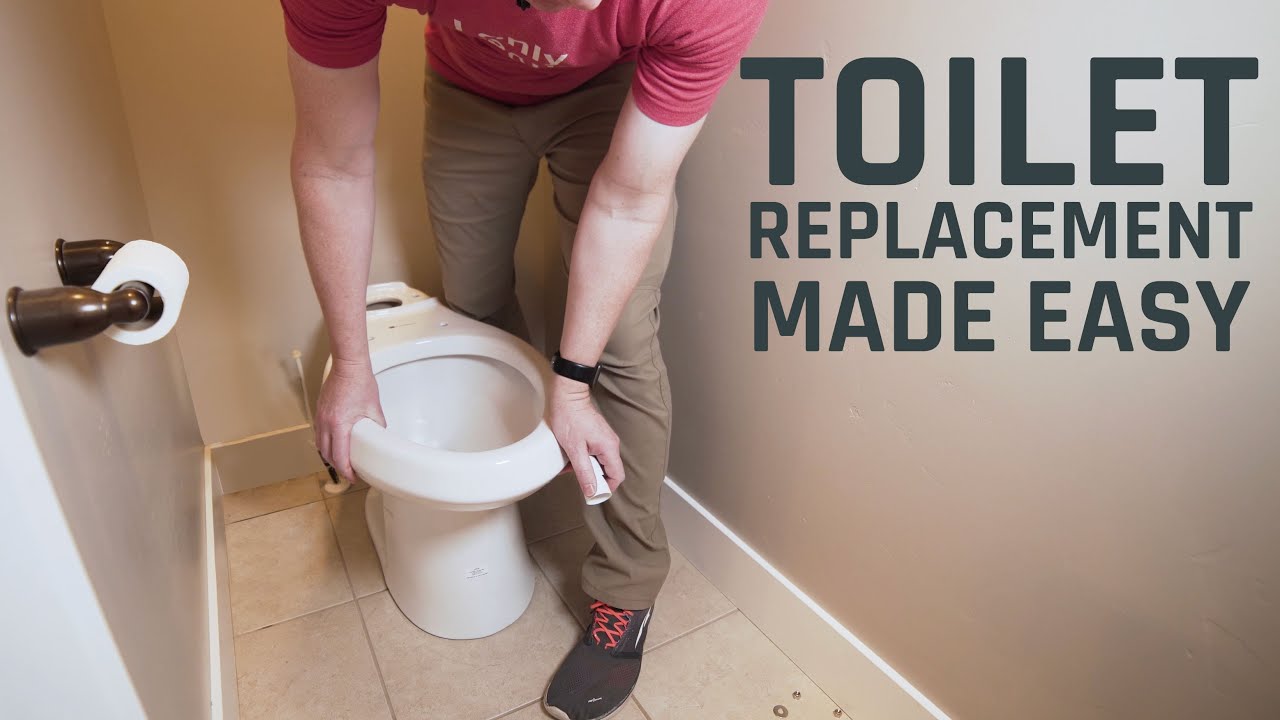
Installing a toilet might seem intimidating to beginners, but with the right tools, materials, and guidance, it can be a straightforward DIY project. This ultimate guide will walk you through each step of the installation process, ensuring you have a functional toilet without needing to call a plumber. Whether you’re replacing an old toilet or setting up a new one, this guide is designed to help you achieve a successful installation.
Tools and Materials Needed
Before you begin, gather all necessary tools and materials to streamline the process. Here’s what you’ll need:
- Adjustable wrench
- Flathead screwdriver
- Bucket
- Sponge or towel
- Wax ring or rubber gasket
- Toilet bolts and caps
- Level
- Caulk and caulking gun
- New toilet kit (toilet bowl, tank, seat, and lid)
- Plumber’s tape
- Old rag or cloth
Step-by-Step Toilet Installation
Step 1: Remove the Old Toilet
If you’re replacing an existing toilet, you’ll need to remove the old one first. Begin by turning off the water supply using the valve located behind the toilet. Flush the toilet to drain as much water as possible. Use a sponge or towel to remove any remaining water from the tank and bowl. Disconnect the water supply line using an adjustable wrench, and place a bucket underneath to catch any remaining water.
Unscrew the nuts securing the toilet to the floor using a wrench. If the nuts are corroded, you may need to use penetrating oil to loosen them. Once the nuts are removed, gently rock the toilet back and forth to break the seal with the wax ring. Lift the toilet off the floor and set it aside. Stuff an old rag or cloth into the drainpipe to prevent sewer gases from entering your home.
Step 2: Prepare the Area
Clean the floor area where the old toilet sat, removing any residual wax with a putty knife. Ensure the flange, which secures the toilet to the floor, is in good condition. If the flange is damaged, it will need to be replaced before proceeding. This is an important step to ensure a secure and leak-free installation.
Step 3: Install the Wax Ring or Rubber Gasket
Position the new wax ring or rubber gasket on the flange. If using a wax ring, ensure it’s centered and pressed firmly into place. A rubber gasket is often preferred over a traditional wax ring for its durability and ease of use.
Step 4: Set the New Toilet Bowl
Carefully lift the new toilet bowl and align it over the flange, ensuring the bolts protrude through the holes on the base of the toilet. Gently press the toilet down to create a seal with the wax ring or gasket. Use a level to check that the toilet is even, making any necessary adjustments by tightening or loosening the bolts.
Secure the toilet by tightening the nuts onto the bolts. Be cautious not to overtighten, as this can crack the porcelain. Once secure, snap on the bolt caps for a finished look.
Step 5: Attach the Toilet Tank
If your new toilet comes with a separate tank, position it on the back of the bowl, aligning the tank bolts with the holes. Insert the rubber washers and nuts, then tighten them with an adjustable wrench. Again, take care not to overtighten to avoid damaging the porcelain.
Once the tank is secure, attach the water supply line. Wrap plumber’s tape around the threads of the supply line to ensure a tight seal. Use the wrench to connect the supply line to the fill valve on the bottom of the tank.
Step 6: Install the Toilet Seat
Follow the manufacturer’s instructions to attach the toilet seat. Generally, this involves aligning the seat’s hinges with the holes on the bowl and securing them with screws. Tighten the screws until the seat is firmly in place, but avoid overtightening to prevent damage.
Step 7: Test and Finish
Turn on the water supply and let the tank fill. Check for leaks around the base, tank, and supply line. If you notice any leaks, tighten the connections as needed. Once the tank is full, flush the toilet to ensure everything is working properly.
To finish, apply a bead of caulk around the base of the toilet to seal it to the floor. This step prevents water and debris from getting underneath the toilet and adds a clean, finished look.
Common Mistakes to Avoid
- Failing to check and replace a damaged flange can lead to leaks and an unstable toilet.
- Overtightening bolts and nuts can crack the porcelain, leading to costly repairs.
- Skipping the plumber’s tape on the supply line connection can result in leaks.
- Not leveling the toilet properly can cause it to rock and lead to a poor seal.
Maintenance Tips
Regular maintenance can extend the life of your toilet and prevent common issues. Here are some tips:
- Regularly check for leaks around the base and tank.
- Clean the toilet using non-abrasive cleaners to protect the finish.
- Inspect the supply line and connections periodically for signs of wear or corrosion.
- Test the flush mechanism to ensure it operates smoothly and adjust as needed.
Conclusion
Installing a toilet is a manageable task for beginners with the right preparation and attention to detail. By following this ultimate guide, you can confidently install a new toilet, ensuring it functions efficiently and remains leak-free. With the addition of regular maintenance, you’ll enjoy a reliable bathroom fixture for years to come.
