
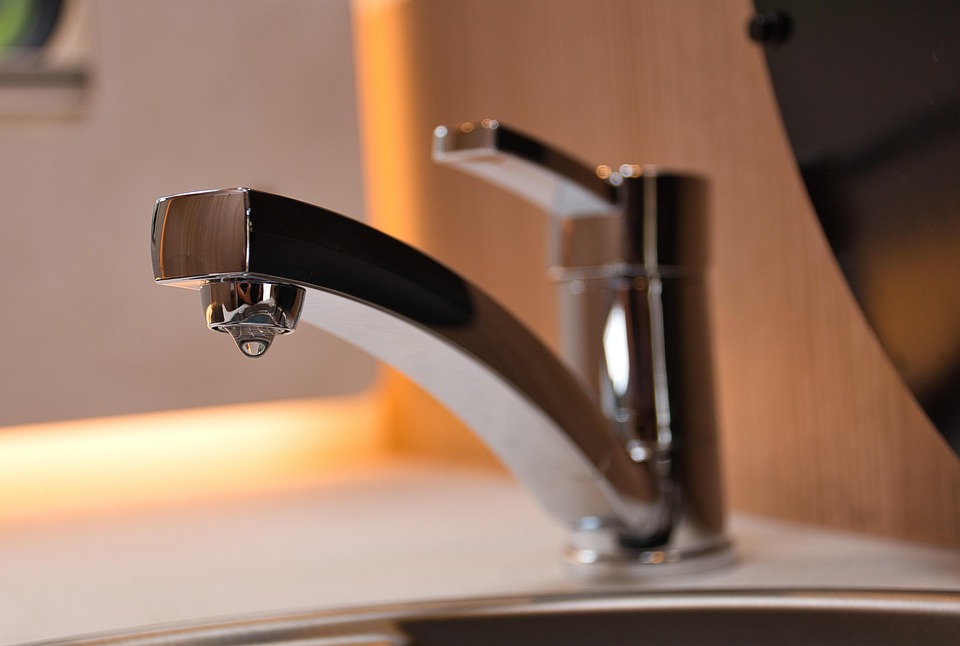
Kitchen Faucet Repair
The kitchen faucet is one of the most frequently used fixtures in any home, and over time, it can develop issues that require repair. Understanding how to fix common problems not only saves money but also prolongs the life of your fixture. In this article, we will delve into expert tips and techniques for mastering kitchen faucet repair, ensuring your faucet functions smoothly and efficiently.
Identifying Common Kitchen Faucet Problems
Before diving into repairs, it’s essential to identify the specific issue with your kitchen faucet. The most common problems include leaks, low water pressure, and difficulty in turning the faucet on or off. By recognizing the symptoms, you can determine the appropriate solution.
Leaking Faucet
A leaking faucet is not only annoying but can also lead to higher water bills. Leaks often occur due to worn-out washers, seals, or O-rings. Identifying the source of the leak is the first step in resolving the issue.
Low Water Pressure
Low water pressure can be frustrating, especially when you’re trying to fill a pot or wash dishes. This issue may be caused by a clogged aerator, a blocked cartridge, or a problem with the water supply lines.
Stiff Faucet Handle
A faucet handle that is difficult to operate can hinder your kitchen tasks. This problem is often due to mineral buildup or worn internal components.
Essential Tools for Kitchen Faucet Repair
Having the right tools on hand is crucial for successful faucet repair. Here is a list of essential tools you may need:
– Adjustable wrench
– Screwdriver set (Phillips and flathead)
– Allen wrench set
– Plumber’s tape
– Replacement parts (O-rings, washers, cartridges)
– Bucket or basin (to catch water)
– Cleaning cloth or sponge
Step-by-Step Guide to Repairing a Leaking Kitchen Faucet
Once you’ve identified a leak, follow these steps to repair it:
Step 1: Turn Off the Water Supply
Locate the valves under the sink and turn them clockwise to shut off the water supply. This prevents any water from flowing while you work on the faucet.
Step 2: Remove the Faucet Handle
Depending on your faucet type, you may need an Allen wrench or a screwdriver to remove the handle. Once the handle is removed, you will have access to the internal components.
Step 3: Inspect and Replace Parts
Check the O-rings, washers, and seals for wear and tear. Replace any damaged components with new ones. Make sure to use plumber’s tape on threads to ensure a tight seal.
Step 4: Reassemble the Faucet
Once the new parts are installed, reassemble the faucet by reversing the removal steps. Ensure everything is tightened securely to prevent future leaks.
Step 5: Turn On the Water Supply
Slowly turn the water supply back on and test the faucet. Check for any leaks and ensure the faucet operates smoothly.
Addressing Low Water Pressure
If you’re experiencing low water pressure, follow these steps to resolve the issue:
Step 1: Clean the Aerator
The aerator, located at the tip of the faucet, can become clogged with debris and mineral deposits. Unscrew the aerator and soak it in vinegar to dissolve the buildup. Scrub any remaining debris with a brush before reattaching it.
Step 2: Check the Cartridge
A clogged or damaged cartridge can also cause low water pressure. Remove the cartridge following the manufacturer’s instructions and inspect it for blockages. Clean or replace it if necessary.
Step 3: Inspect the Water Supply Lines
Ensure that the water supply lines are not kinked or blocked. If necessary, clean or replace the lines to restore proper water flow.
Fixing a Stiff Faucet Handle
A stiff handle can be fixed by following these steps:
Step 1: Remove the Handle
As with the leak repair, begin by turning off the water supply and removing the faucet handle.
Step 2: Clean the Handle and Valve
Mineral deposits can cause the handle to become stiff. Clean the handle and valve with a vinegar solution to remove any buildup.
Step 3: Lubricate Moving Parts
Apply a plumber’s grease to the moving parts of the faucet to ensure smooth operation. Be cautious not to over-lubricate, as this can attract more debris.
Step 4: Reassemble and Test
After cleaning and lubricating, reassemble the faucet handle and turn the water supply back on. Test the handle to ensure it moves freely.
Preventive Maintenance for Your Kitchen Faucet
To avoid frequent repairs, regular maintenance of your kitchen faucet is essential. Here are some tips to keep your faucet in top condition:
– Clean the aerator every few months to prevent clogs.
– Regularly check for leaks and fix them promptly.
– Use a water softener if you have hard water to reduce mineral buildup.
– Lubricate the faucet’s moving parts annually to ensure smooth operation.
When to Call a Professional
While many faucet repairs can be done by homeowners, there are times when a professional plumber’s expertise is necessary. If you encounter persistent leaks, complex issues, or are unsure about performing a repair, it’s best to consult a professional. They can provide a thorough assessment and ensure the repair is done correctly.
Conclusion
Mastering kitchen faucet repair involves understanding the common issues and having the right tools and knowledge to address them. By following the expert tips outlined in this article, you can tackle most faucet problems with confidence and maintain a fully functional kitchen. Remember, regular maintenance is key to preventing issues and prolonging the life of your kitchen faucet.
