
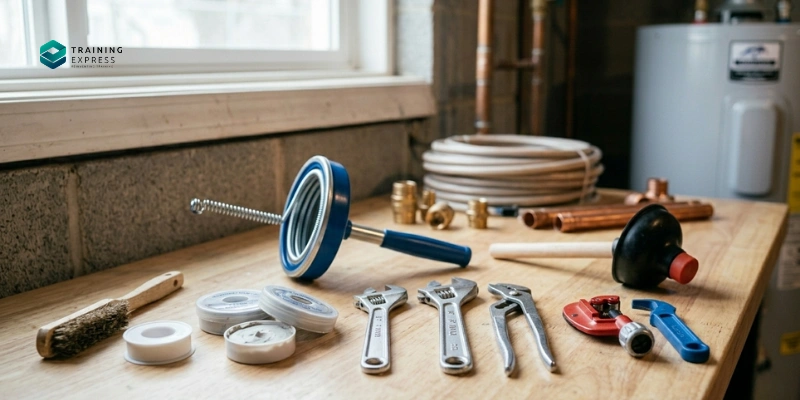
Plumbing projects can seem daunting to the uninitiated, but with a little guidance and the right tools, many tasks can be tackled by homeowners themselves. Not only can this save money, but it also provides a sense of accomplishment and a deeper understanding of the home’s plumbing system. Here, we explore some of the top DIY plumbing projects you can tackle over the weekend to improve your home’s functionality and aesthetics.
1. Fixing a Leaky Faucet
A leaky faucet can waste significant amounts of water and increase your water bill. The good news is that fixing a faucet is often a straightforward process. First, determine the type of faucet you have (compression, ball, cartridge, or ceramic disc). A compression faucet is the most common type and is typically the easiest to fix.
Steps to Fix a Leaky Compression Faucet:
- Turn off the water supply to the faucet.
- Remove the faucet handle by loosening the screw underneath.
- Take out the packing nut using a wrench and remove the stem.
- Inspect and replace the washer if it’s worn out. Washers are often the cause of leaks in compression faucets.
- Reassemble the faucet, turn the water supply back on, and test for leaks.
2. Unclogging a Drain
Clogged drains are a common issue in kitchens and bathrooms. Chemical drain cleaners are available, but they can damage pipes over time. Instead, opt for a more natural and mechanical approach to unclogging.
Steps to Unclog a Drain Naturally:
- Pour a pot of boiling water down the drain to loosen debris.
- Add a cup of baking soda followed by a cup of vinegar. Let it sit for 15 minutes.
- Flush the drain with another pot of boiling water.
- If the clog persists, use a plunger or a plumber’s snake to dislodge stubborn blockages.
3. Installing a New Showerhead
Upgrading or replacing a showerhead can enhance your shower experience without much effort. Modern showerheads can also help conserve water, making this a worthwhile project.
Steps to Install a New Showerhead:
- Turn off the shower and remove the old showerhead by turning it counterclockwise. Use pliers if it is difficult to remove.
- Clean the threads of the shower arm and apply plumber’s tape in a clockwise direction to prevent leaks.
- Screw the new showerhead onto the shower arm and tighten it by hand. Use a wrench to ensure a snug fit if necessary.
- Turn on the shower to check for leaks and adjust the showerhead settings as desired.
4. Replacing a Toilet Flush Handle
If your toilet handle is loose or sticking, it might be time for a replacement. This is a simple task that can restore your toilet’s functionality.
Steps to Replace a Toilet Flush Handle:
- Remove the lid from the toilet tank and unhook the lift chain from the flush lever.
- Unscrew the nut securing the handle to the inside of the tank. Remember, this nut is usually reverse-threaded.
- Remove the old handle and insert the new one through the hole.
- Secure the new handle with the nut and reattach the lift chain.
- Test the flush handle to ensure it works smoothly.
5. Installing a Water Filter
Installing a water filter can improve the taste and quality of your tap water. There are various types of filters available, but a common choice for DIY installation is an under-sink water filtration system.
Steps to Install an Under-Sink Water Filter:
- Turn off the water supply to the sink.
- Mount the filter unit inside the cabinet under the sink according to the manufacturer’s instructions.
- Connect the water supply line to the filter’s inlet, and the faucet line to the outlet using the fittings provided.
- Turn the water supply back on and check for leaks.
- Run the water for a few minutes to flush out any carbon dust from the filter.
6. Repairing a Running Toilet
A constantly running toilet can waste a lot of water. The problem often lies with the flapper valve, the fill tube, or the float.
Steps to Repair a Running Toilet:
- Remove the tank lid and check the flapper. If it’s worn out or not sealing properly, replace it.
- Ensure the fill tube is securely attached and directing water into the overflow tube.
- Adjust the float so the water level is about an inch below the overflow tube.
- If necessary, replace the fill valve entirely for a more comprehensive fix.
Conclusion
These DIY plumbing projects can greatly enhance your home without needing professional intervention. With a weekend’s time and some basic tools, you can fix leaks, improve water quality, and update fixtures. Always ensure to follow safety precautions, such as turning off water supplies before starting any project, and consult a professional if you’re unsure about any step. Tackle these projects with confidence and enjoy the satisfaction of a job well done.
#ChatGPT assisted in the creation of this article.
